
These are the steps to deploy an organization once you are set up as an admin within the Netarx portal.
Step 1: Setting up a managed organization
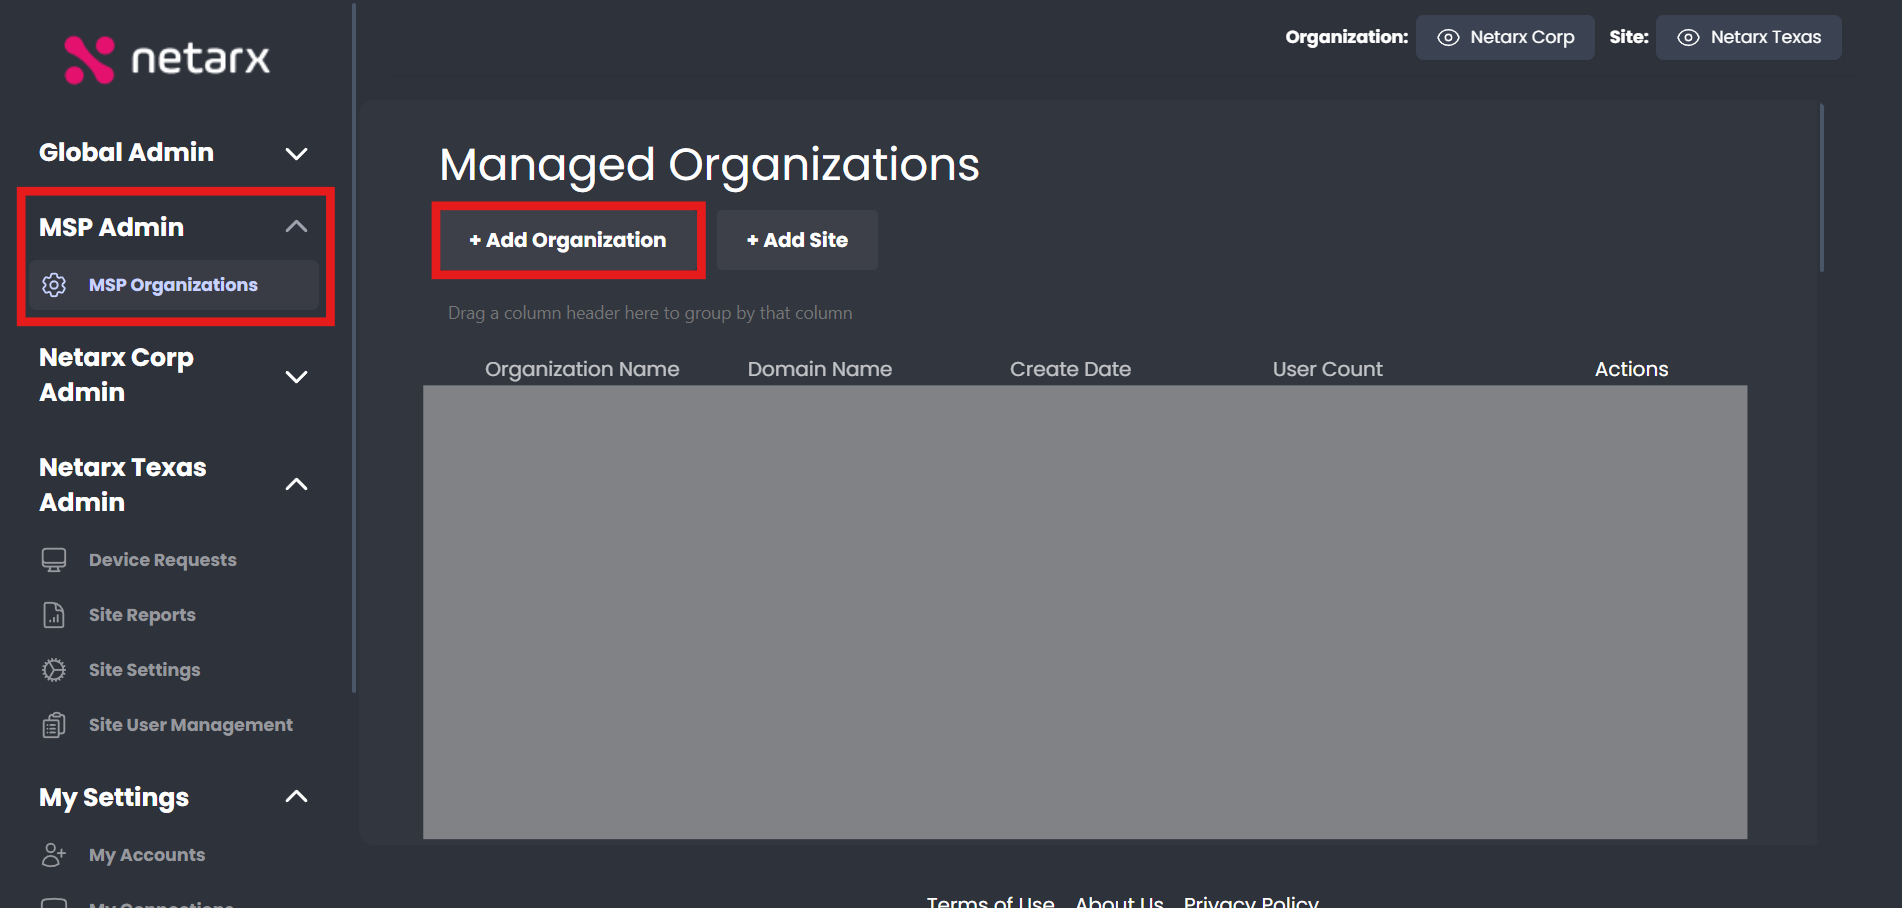
In the admin portal, click “MSP Admin” on the left-hand side of the screen, and click “Managed Organizations”. In that view, click “Add Organization”. Enter the information for the organization you are deploying. Once you add the organization, you are ready to deploy the Netarx agent via RMM. For this document, it will run through the deployment via Microsoft Intune.
Step 2: Deploying via RMM
In the admin portal, you can get the deployment scripts under the “Organization Admin” tab, and in the “Resources” page. You can download the script for the Netarx Agent by pressing “Bulk Flurp Install Script”.
Once you have the script, you go to intune.microsoft.com. Once there, go to Devices -> Scripts and Remediations -> Platform Scripts. From there press “Add”.
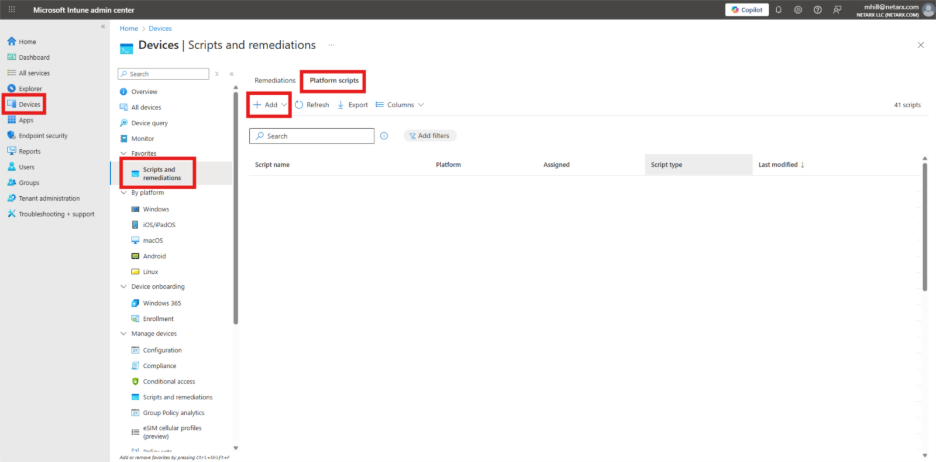
Assuming the users are Windows users, select “Windows 10 and later” after you press “Add”. You will first name the script deployment and give it a description. Next, you will select the script you downloaded earlier, select “No” for Running the script as the logged in user and Enforce signature check, and “Yes” to Run script in 64-bit Powershell host. The next page will be assigning what groups of users the script will be deployed to. You will then review all your options, and deploy the script. It will take some time for the selected computers to sync and run the script to completion.
Step 3: User Documentation
Once the Flurp has been deployed via RMM, there will be a desktop shortcut to launch the Flurp. Direct users to a usage guide here. This will guide them through verifiying their email and adding their Microsoft/Google OAuth token, and using the Flurp once it is completely set up.